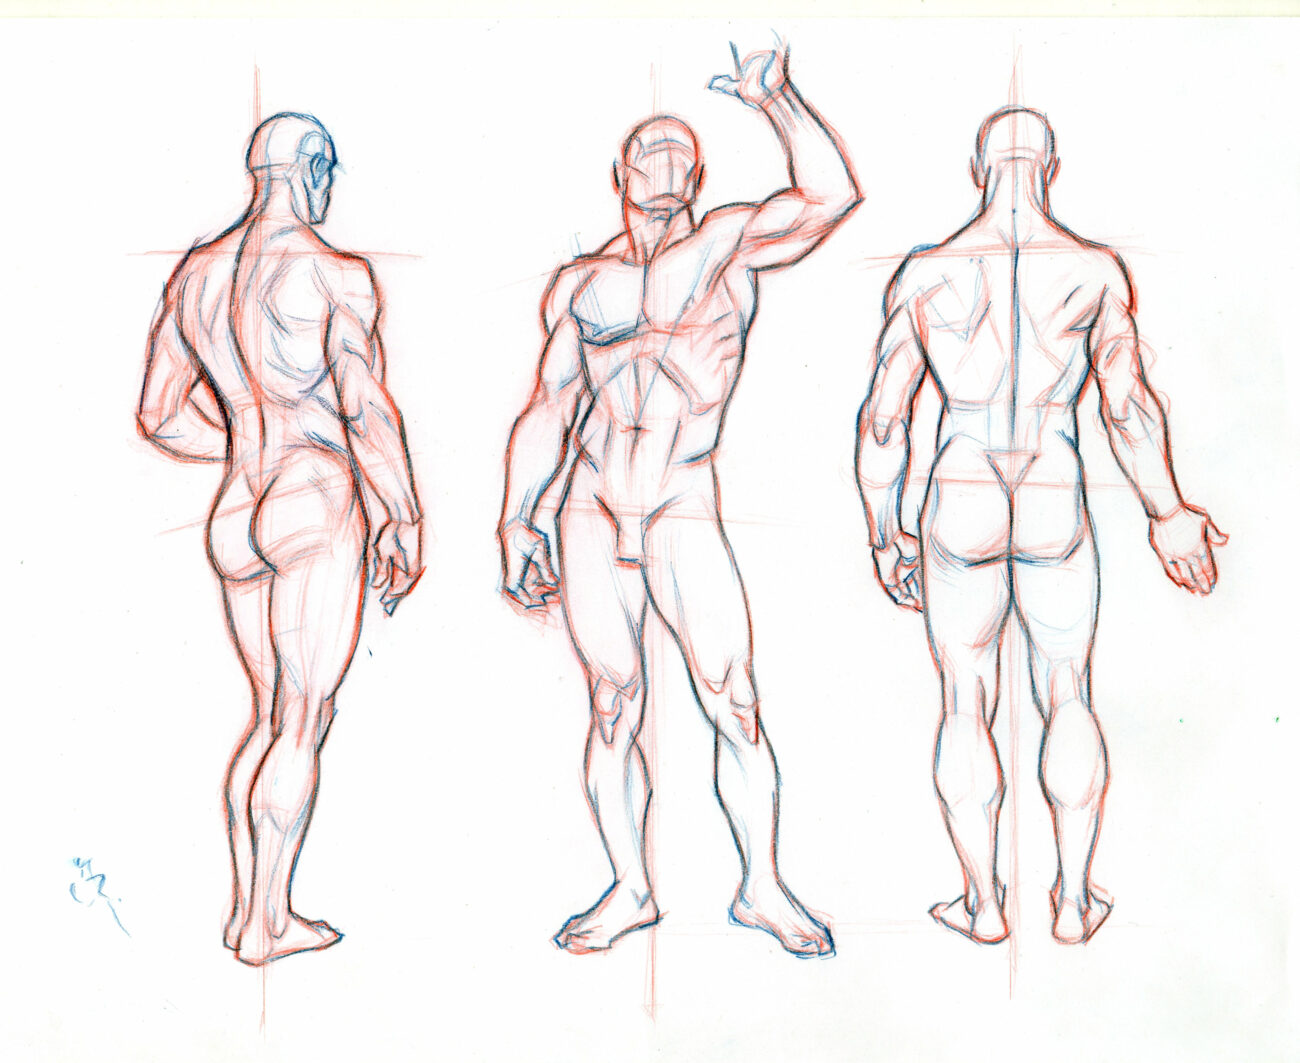
How to Draw a Model Figure | A Step-by-Step Guide

Drawing a model figure is an essential skill for artists of all levels. Whether you’re a beginner looking to improve your drawing skills or an experienced artist aiming to capture the human form more accurately, this step-by-step guide will help you achieve your goals.
In this comprehensive article, we’ll break down the process of drawing a model figure into manageable steps, ensuring that you grasp the fundamental techniques required to create stunning figurative artwork.
Materials You’ll Need to Draw a Model Figure
Before we dive into the steps of drawing a model figure, let’s gather the necessary materials:
1. Drawing Paper: Choose a high-quality drawing paper with a smooth surface to prevent excessive smudging.
2. Pencils: A range of graphite pencils (2H to 6B) will allow you to achieve varying levels of darkness and detail.
3. Eraser: A kneaded eraser is ideal for fine adjustments and lightening areas of your drawing.
4. Blending Tools: Tortillons or blending stumps will help you smoothly blend pencil strokes.
5. Reference Image: Find a clear, well-lit reference image of a model figure to work from. You can use books, magazines, or online resources for this purpose.
Now, let’s begin the process of drawing a model figure:
Step 1: Observe and Analyze the Model Figure
Before putting pencil to paper, carefully study your chosen reference image. Pay close attention to the proportions, shapes, and lines that make up the figure. Identify the major landmarks such as the head, torso, arms, and legs.
Take note of any unique features or details that you want to capture in your drawing.
Step 2: Establish the Basic Framework
Start by lightly sketching the basic framework of the model figure using simple shapes and lines. Use an H or 2H pencil for this initial sketch, as these pencils create light and easily erasable lines.
Begin with an oval or circle for the head and rough lines to indicate the spine and limbs. Pay attention to the overall pose and proportions.
Step 3: Block In the Torso and Limbs
Refine the basic framework by adding more defined shapes for the torso and limbs. Pay attention to the angles and proportions of each part of the figure.
Keep your lines light and loose at this stage, as you will make adjustments as you progress.
Step 4: Add Facial Features
Now, focus on the head and add the facial features. Start with the placement of the eyes, nose, and mouth.
Pay attention to the alignment of these features with the rest of the head. Remember that the size and positioning of facial features can vary depending on the model’s pose and angle.
Step 5: Refine the Details
With the major features in place, begin refining the details of the model figure. Add more definition to the limbs, paying attention to the curves and contours of the muscles and joints. Use different pencil grades to create varying levels of shading and depth.
Step 6: Work on the Hands and Feet
Hands and feet can be challenging to draw, but they are crucial for capturing the essence of the model figure.
Break down the hands and feet into basic shapes and gradually add details like fingers and toes. Study the reference image carefully to get the proportions and positioning right.
Step 7: Create Shadows and Highlights
To give your model figure depth and dimension, start shading the areas that receive less light.
Use a range of pencils (4B to 6B) to create shadows, paying attention to the direction of light in your reference image. Leave some areas lighter to represent highlights on the skin.
Step 8: Blend and Smooth
Use blending tools like tortillons or blending stumps to smooth out your shading and create a more realistic, seamless appearance. Be gentle when blending to avoid over-smudging. Focus on achieving a gradual transition from light to dark areas.
Step 9: Refine the Face
Return to the face and refine the details, making sure to capture the model’s expression and character. Adjust the shading on the face to create more realistic features, and pay attention to the eyes, which are often the focal point of a portrait.
Step 10: Final Details and Cleanup
Take a critical look at your drawing and make any necessary adjustments. Use your kneaded eraser to lighten areas that need correction or to add highlights. Ensure that the proportions and details are as accurate as possible.
Step 11: Sign and Date Your Work
Once you are satisfied with your drawing of the model figure, sign it with your name and date to mark your accomplishment.
Drawing a model figure requires patience, practice, and attention to detail. By following these step-by-step instructions and regularly practicing, you can improve your skills and create lifelike representations of the human form.
Remember that every artist’s journey is unique, and don’t be discouraged by initial challenges. Keep honing your craft, and you’ll see your ability to draw model figures improve over time. Happy drawing!


Responses